Chandelier Sizing Guide: Height, Scale, and Clearance
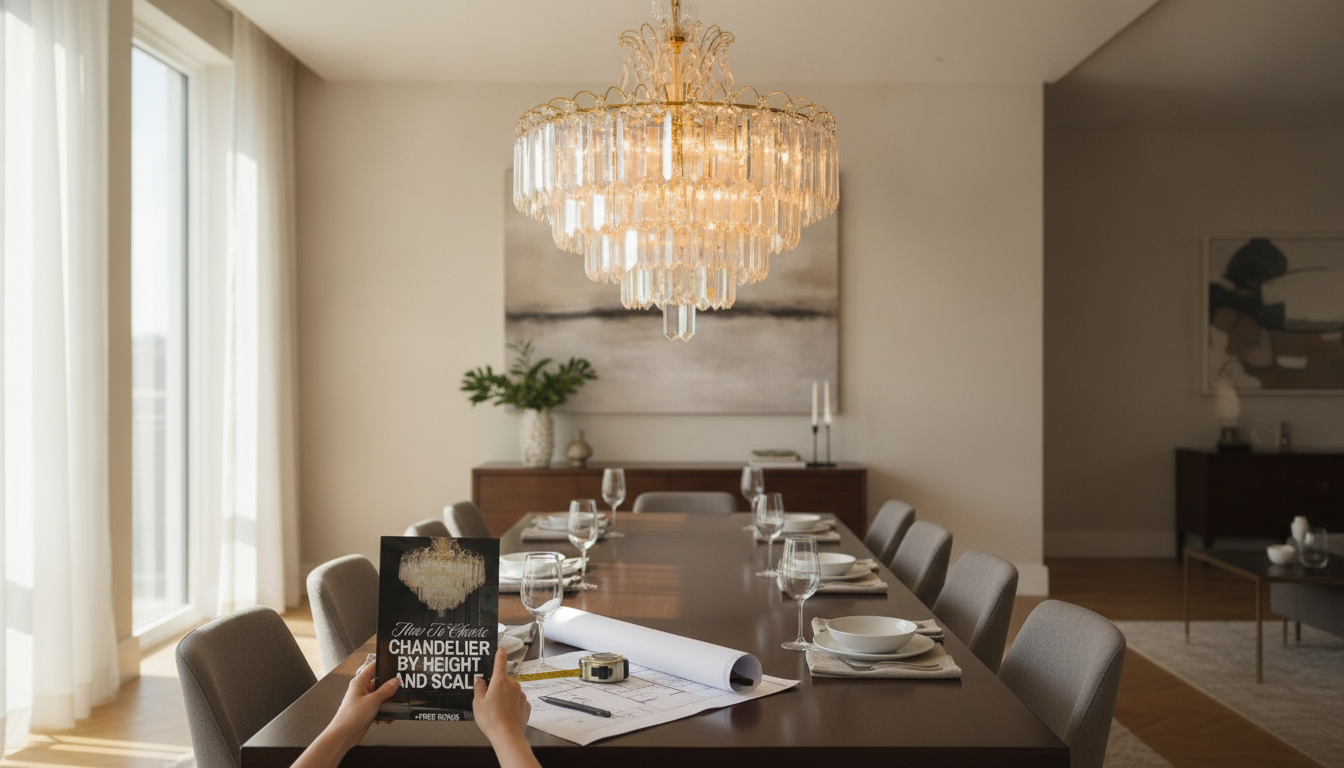
Chandelier Height and Scale: A Practical Sizing Checklist for Confident Lighting Choices
A chandelier can elevate a space—or overwhelm it—depending on two decisions: how high it hangs and how large it feels in the room. Getting both right is less about guessing and more about using a few repeatable measurements, then checking clearance and “visual weight” before you buy or install. Use the practical sizing steps below for dining rooms, bedrooms, and open foyers, then keep the checklist handy so every future fixture choice feels straightforward. For more guidance, see How to Choose a Chandelier Size: A Comprehensive Guide.
Start with the room: measurements that matter
Before you compare styles, collect the numbers and conditions that determine whether a chandelier will feel balanced or bulky. These basics also prevent common installation surprises. For further reading, see How to Pick the Right Chandelier Size for Your Room – Visual Comfort.
- Measure room length and width (in feet) and note the ceiling height (in feet or inches).
- Identify what sits under the chandelier: dining table, kitchen island, bed, coffee table, or open floor.
- Mark the visual “center” from key viewpoints (entry, sofa, bed) because off-center placement can change perceived scale.
- Note ceiling conditions: sloped ceiling, beams, existing junction box location, and whether a medallion will be used.
If you’re unsure where the fixture should “read” centered, stand in the doorway and the primary seating spot, then imagine a plumb line down from the ceiling point. A chandelier can be technically centered yet still look off if the furniture layout is asymmetric.
Choose chandelier diameter by scale (room size rules of thumb)
A reliable starting point for overall room scale is the classic sizing shortcut: add the room’s length and width (in feet) to estimate chandelier diameter (in inches). From there, refine based on how open the plan is and how visually dense the fixture looks.
- Quick sizing method for general rooms: add room length + room width (in feet) to estimate chandelier diameter (in inches). Example: 12 ft + 14 ft ≈ 26 in diameter.
- For tighter spaces, consider stepping down 2–4 inches to reduce visual crowding, especially with multiple light layers (recessed + sconces).
- For open concept rooms, size to the “zone” (dining area footprint) rather than the entire open plan.
- Match the chandelier’s visual weight to the style: dense shades and multi-tier crystals read larger than open, airy frames at the same diameter.
| Room size (ft) | Estimated diameter (in) | Best for | Notes |
|---|---|---|---|
| 10 × 10 | ≈ 20 | Breakfast nook, small bedroom | Consider a semi-flush if ceiling is low |
| 12 × 14 | ≈ 26 | Dining room, primary bedroom | Adjust down if the fixture has heavy shades |
| 14 × 16 | ≈ 30 | Large dining area, living room zone | Consider a wider canopy and chain for balance |
| 16 × 18 | ≈ 34 | Great room zone, open foyer landing | Two-tier fixtures may need extra height clearance |
Set hanging height: ceiling height and clearance checkpoints
Height mistakes show up immediately: fixtures that hang too low feel intrusive, while fixtures that sit too high can look undersized. The safest way to decide is to start with clearance, then adjust for ceiling height and sightlines.
- General clearance guideline for open areas: allow at least 7 ft (84 in) from floor to the bottom of the chandelier where people walk underneath.
- For standard 8 ft ceilings, consider flush or semi-flush styles unless the chandelier is small and placed over a table.
- For 9–10 ft ceilings, a chandelier can hang lower while still maintaining comfortable clearance in open circulation paths.
- For two-story foyers, prioritize sightlines: the fixture should feel centered in the volume and not block views from upper railings.
Lighting education resources like the American Lighting Association and the Illuminating Engineering Society are helpful when you’re planning layered lighting and trying to avoid glare or under-lighting—especially in multi-use spaces.
Dining tables: diameter, width, and the “no-bump” zone
Over a table, the chandelier is allowed to hang lower because people aren’t walking directly beneath it. The goal is a balanced silhouette that lights faces and food without crowding the table edges.
- Aim for a chandelier diameter about 1/2 to 2/3 the table width for balanced proportions.
- Maintain at least 6 inches (preferably 9–12 inches) from the chandelier’s outer edge to the table edge to reduce head-bump risk and visual crowding.
- Typical hanging height over a dining table: 30–36 inches from tabletop to the bottom of the fixture; go slightly higher for taller ceilings or very large fixtures.
- If using two pendants instead of one chandelier, treat the pair as a single visual unit and keep the combined spread within the table footprint.
Entryways and foyers: how to avoid “too small” or “too low”
Visual weight: scale isn’t only diameter
Installation details that affect final height
Printable checklist for faster decisions (digital download)
Chandelier height and scale sizing checklist (digital download)
More practical planning downloads
FAQ
How high should a chandelier hang over a dining table?
A practical target is 30–36 inches from the tabletop to the bottom of the fixture. For higher ceilings or a visually large chandelier, move toward the higher end to keep sightlines comfortable.
What size chandelier works best for a room?
Start with room length + width (in feet) to estimate chandelier diameter (in inches), then adjust for the specific zone you’re lighting and the fixture’s visual density. Open, airy frames can often size up, while clustered globes or crystal-heavy styles may need a slightly smaller diameter.
Can a chandelier be too big if it meets the formula?
Yes. Low ceilings, narrow walk paths, and heavy silhouettes can make a formula-sized chandelier feel oversized, especially if it sits near doors or stair travel lines. Confirm edge clearance, glare control (dimmer), and real circulation before committing.















Leave a comment